Last updated on March 13th, 2025 at 06:55 am
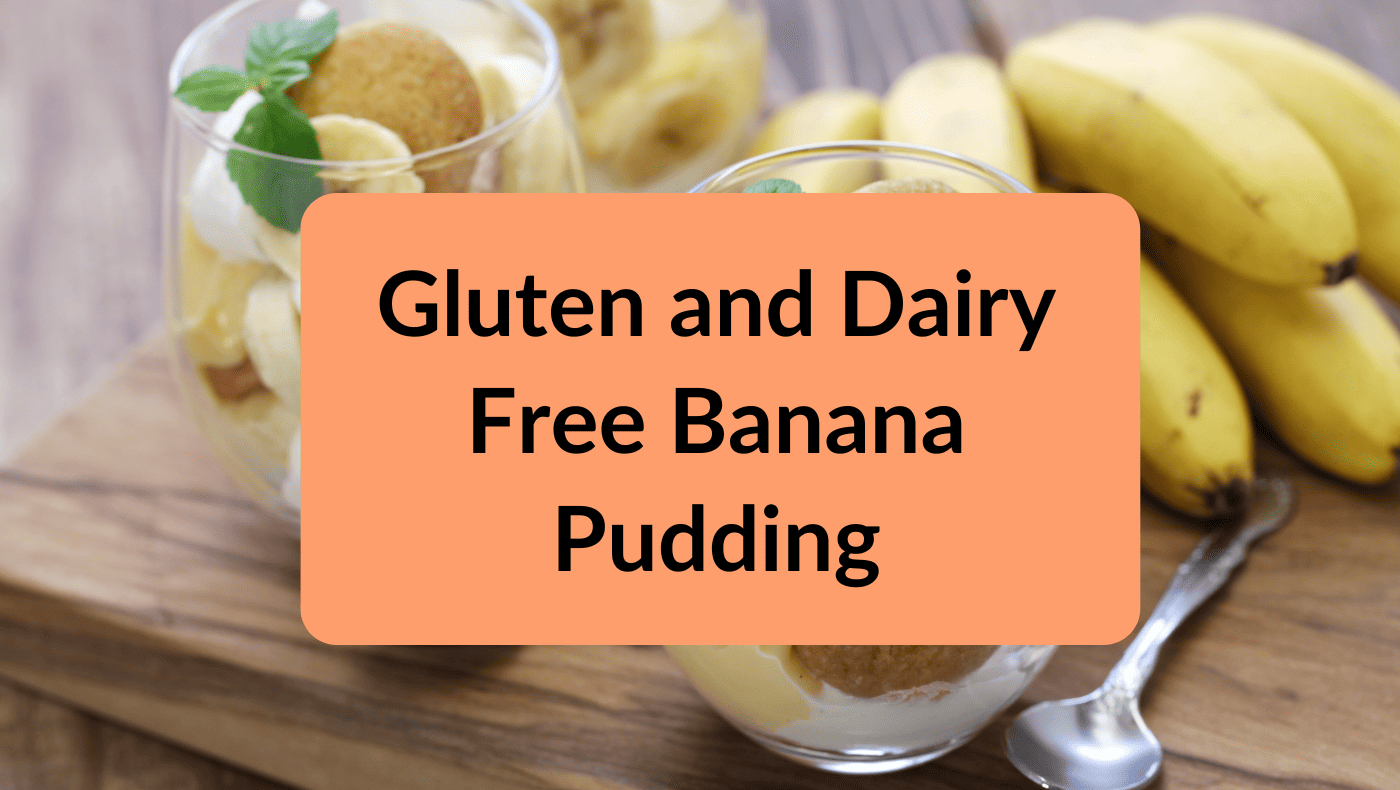
If you’re in the mood for something sweet and satisfying, then there’s nothing quite like a good banana pudding. However, if you or anyone in your family has dietary restrictions, such as gluten or dairy intolerance, finding a recipe that fits your needs can be a bit challenging. Fortunately, this gluten free banana pudding recipe is not only delicious but is also perfect for those on a special diet.
It is quite versatile and you can substitute some ingredients if needed.
What is banana pudding?
Banana pudding is a classic dessert that is loved by many.
This Southern treat has a rich and creamy texture that is hard to resist.
It is made with layers of vanilla pudding, Cool Whip, sliced bananas, and vanilla wafers.
While banana pudding is typically made with wheat-based and dairy ingredients, there are gluten-free and dairy-free versions of this dessert that are just as tasty.
Gluten-free banana pudding recipe options are perfect for kids who need to follow a special diet but want to still enjoy this dessert.
These versions are made with gluten-free and dairy-free ingredients, so they are safe for those with dairy or gluten sensitivities as well as celiac disease.
Furthermore, the bananas in the pudding provide numerous health benefits such as vitamins B6 and C, potassium, and dietary fiber.
By enjoying a gluten and dairy-free version of banana pudding, your child can indulge in a sweet treat without compromising their dietary needs.
It’s a win-win situation that both parents and kids can appreciate.
Disclosure: There are affiliate links in this post. If you click the link and buy something, I might get a commission at no additional cost to you! This is what keeps this blog running so consider using these links if you decide to try any of my recommendations.
Here are the simple and easy-to-follow recipes for making a delicious gluten free banana pudding:
1. Gather the Ingredients
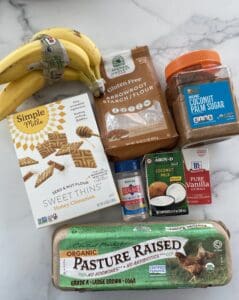
The first step to making this scrumptious gluten-free banana pudding is to gather all your ingredients.
You will need bananas, eggs, arrowroot flour, coconut milk, salt, vanilla flavoring, coconut sugar, or whichever sweetener you are using.
There is an optional ingredient which is coconut whipped cream that you can make or purchase.
If you are interested in making homemade coconut toppings, it is very simple to do and is much cleaner than buying coconut whip topping from the store.
I do understand that some of you may not be interested in making your own so you can use So Delicious Coco Whip as an alternative
I would check out this recipe and learn how to make coconut whipped cream. It is simple and quite delicious.
Another optional ingredient is lemon juice. If you are not wanting your bananas to turn so fast then you can add your cut bananas to a little lemon juice and mix it a bit so they are all covered.
This just prevents the banana from turning brown so fast.
2. Prepare your Pudding
In a blender, add in your coconut milk, egg yolks, vanilla flavoring, salt, arrowroot flour, and coconut sugar. Blend well as this will make sure the arrowroot flour does not clump.
3. Cook Your Ingredients
In a medium-sized saucepan, add the liquid ingredients that you just blended up in the blender.
I like to use a double boiler or just take my large saucepan put about 3 cups of water in and place my medium saucepan with the pudding in it on top of the saucepan with the water.
This helps prevent the egg yolks from cooking too fast and helps it form into a pudding-like below.
It is important to stir your pudding as it warms so that it does not stick to the pan and become clumpy. You want it to be like pudding just like below.
4. Allow your pudding to cool
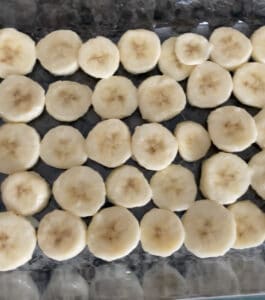 It is important to allow your pudding time to cool so that it won’t start cooking your bananas as you create your layers.
Remove from the saucepan and place in another dish to allow time to get to room temperature before starting to make your banana pudding.
While your mixture is cooling down, go ahead and start cutting your bananas and mashing up your cookies to whatever consistency you would like.
I enjoy having crumbs on the top but I like to break the cookies in half for the middle of my layers.
5. Create Your Layers
Once your pudding is cool, it is time to get creative.
Using a glass dish, layer the pudding with sliced bananas, whipped coconut cream, and crumbled gluten-free cookies.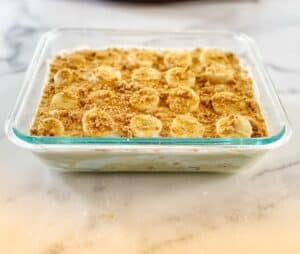
Repeat the layering process until your glass dish is full, then chill the dessert for at least an hour in the fridge.
This recipe will make a small dish approximately – 9 x 7.
If you want to make a large dish then I suggest you double or triple the recipe to make sure you have enough pudding.
Amounts vary based on how deep your dish is as well. The deeper the dish, the more pudding you will need for the layers.
Just keep that in mind as you are making your pudding.
6. Time to Serve
Now that your dairy and gluten-free banana pudding has cooled, it’s time to enjoy it!
The great thing about this recipe is that it can serve as a quick-fix dessert or a fancy treat for special occasions.
You can also experiment with toppings like cocoa nibs, chopped nuts, or strawberries to add a personal touch to your recipe.
7. Keep the Leftovers
If you find yourself with leftovers, store them in an airtight container in the fridge.
The pudding can last up to four days, and you can enjoy it as a quick dessert whenever you crave something sweet.
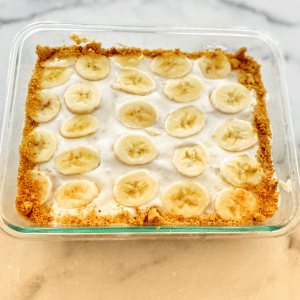
Delicious and Easy Gluten Free Banana Pudding Recipe
Ingredients
Instructions
- Gather the ingredients.
- In a blender, add in your coconut milk, egg yolks, vanilla flavoring, salt, arrowroot flour, and coconut sugar. Blend well as this will make sure the arrowroot flour does not clump.
- In a medium-sized saucepan, add in the liquid ingredients that you just blended up in the blender. Allow the mixture to slowly warm and stir frequently until it turns to pudding. (Video above)I prefer using a double boiler so the pudding doesn't cook too fast. I have found it is best to use a double boiler and stir consistently as you are thickening to not make the egg yolk turn clumpy in the pudding.
- Allow your pudding to cool.
- Create your layers. Once your pudding is cool, it is time to get creative. Using a glass dish, layer the pudding with sliced bananas, whipped coconut cream, and crumbled gluten-free cookies. Repeat the layering process until your glass dish is full, then chill the dessert for at least an hour in the fridge. This recipe will make a small dish approximately – 9 x 7, 2 inches deep.
- Time to serve. Now that your dairy and gluten-free banana pudding has cooled, it’s time to enjoy it!
- Keep the leftovers. If you find yourself with leftovers, store them in an airtight container in the fridge.
Nutrition
In conclusion, this banana pudding recipe is a delicious, healthy, and easy-to-prepare dessert option perfect for anyone on a restricted diet.
Combining ripe bananas, coconut milk, and gluten-free cookies, this sweet and satisfying dessert is sure to please your taste buds.
Whether you’re a busy mom or an organic lover, this gluten-free banana pudding recipe is a go-to option for all your dessert needs.
So, go ahead and indulge in this sweet, gluten-free creation!
Additional Resource:
- For More Gluten Free Recipes
- Paleo Muffins Recipe
- Gluten-Free Pumpkin Pancakes
- Gluten-free Apple Crisp

Love this quick recipe. Thanks for sharing!